Showing posts with label diy. Show all posts

5.06.2014

DIY: Teacher Appreciation Week Ideas


It is that time of the school year where we can take our time to celebrate all those wonderful educators out there.   If you're an educator, Thank you for all you do!
  
Having worked in the classroom for many years, I know what passion and hard work it takes to help teach our little ones become successful adults.  And I am most grateful for those teacher that are passionate for what they do.  Once again, Thank You!

That being said, here are some simple yet thoughtful ideas to gift that special teacher this week:


My kid's current school celebrates their teachers the entire week.  For Monday they asked to either color an apple coloring sheet they sent home and/or send an apple to their teacher(s).  Why not make that apple extra special by tying it around with a bit of twine and a little lovely leaf note thanking them?  Nice and simple, yet very cute.

http://www.saboracajeta.com/2012/05/teacher-gift-ideas.html

In the past I've made these decorated coffee cups which hide a gift card to the teacher's favorite coffee shop. (To see how click on photo.) 

http://www.saboracajeta.com/2012/05/teacher-gift-ideas.html

Or these super easy to make note pads.  (To see how click on photo.)

DIY Tissue Flowers Craft

How about a lovely tissue flower or more?  (Too see how click here or on photo.)

 DIY Easter or Spring Centerpiece

If you have the time to add a bit more elbow grease making a thank you gift, make this adorable plant/flower pot using a recycled tin can.  (To see how click here or on photo.)

 However you decide to make them feel special, I'm sure they will very much appreciate it.

Have a great week!

1.29.2014

Let's get Organized! Ideas {From the Archives}


How about a little round-up of past ideas I have shared on organizing around the home?

In the kids room:


Use vintage suitcases to keep all that fun dress-up organized.


http://www.saboracajeta.com/2012/05/organizing-lego-manuals.html
Organize your kids Lego manuals.

In the craftroom:

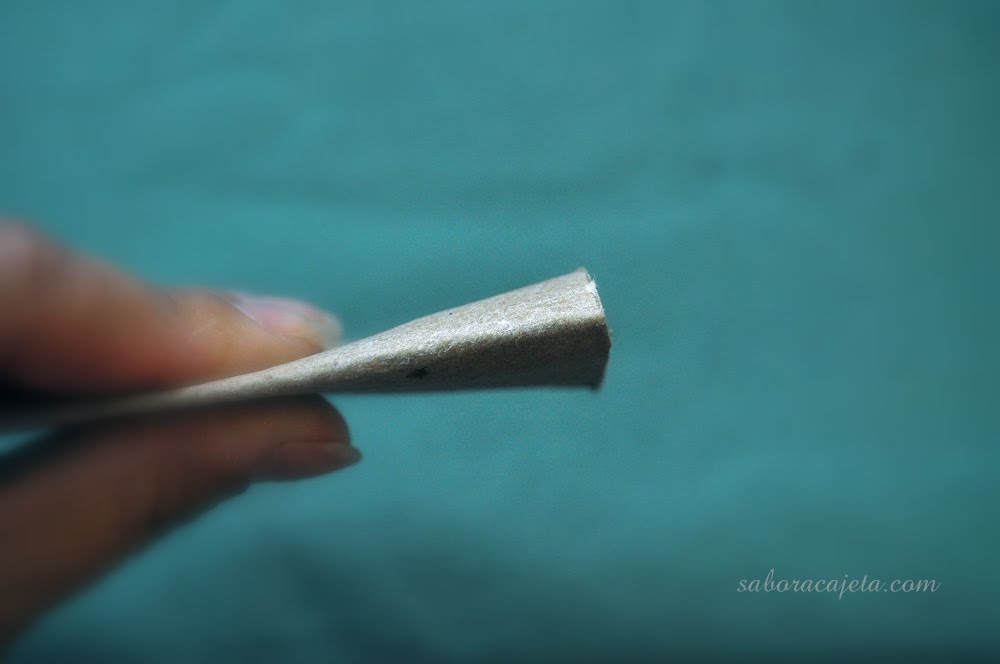
Empty toilet paper rolls, perfect to organize lace and trims

Make an inspirational cork board using an old frame.

Keep those precious vintage laces and trims tidy in a vintage travel case.

In the office:

Make a weekly color-coded family calendar!
In the bathroom:

Use empty candle jars to organize your make-up.


I'll admit, since we are in this temporary apartment,  I haven't been doing any major organizing, but I do find myself constantly organizing bits and pieces here and there.  

Have fun organizing!

7.25.2013

Sidewalk Chalk Paint (Kids Craft for Modern Mami)

 Well Hello there!

I've been such a stranger, haven't I?

This summer my goal was to try to keep up with the posting of this lovely space of mine and the move at the same time.  As you can see, ahem, it hasn't been possible.  We're moving you ask?  Well, yes.  As of August we will no longer be Virginians, but instead Texans.  Exiting and sad all at the same time yes.  We'll be closer to my family which is why we decided to go for this move in the first place, but sad (so very sad) to leave such wonderful friends, and part of hubby's family, behind.  Truth be told we love it here, I love it here!  But nothing beats being closer to family, don't you agree?  Anyway, I will try to stop by here every so often to keep you updated or if you want a more sudden gratification (*wink*) you can follow me on Instagram (@lisarenata).  

Now for that kids craft.


I'm over at Modern Mami sharing a super duper easy (not exaggerating really) recipe to make sidewalk chalk paint.  Oh, I can't believe we hadn't done this before.  The kids love it and the best part it's all non toxic. 

So what are you waiting for?  Go on over and make your own.  The kids will LOVE ya for it.

Happy sunny days!

6.28.2013

Decorate with Fourth of July Pinwheels


 Want to learn how to make these?


Then stop by ModernMami.com where I show you how to make festive pinwheels for some colorful fourth of July decorating.

Hope your having a great summer!  Lot's going on here.  I'll share more with you later.

Enjoy the sun!

3.26.2013

DIY: Easter Wreath & Friends


(*Para Español ver abajo*)
 
A little bit of festive decorating was needed around our home.  Like the past few months, my life has been moving a bit slow, including in the making and decorating department.  Which is why I didn't make this wreath until this past weekend, and didn't post about it until, well, today.  But I say it is better late then never!  Right? Ha!  Just agree with me, won't ya?

Thanks.


As I was saying, I needed a bit more festive decorating.  Especially something to hang next to the front door.  


I had bought a bunch of glittered eggs last year on clearance and was holding on to them for the perfect project.  Then a couple of weeks ago while shopping at my currently favorite goodwill shop I found a twig wreath with cheap Halloween decorations on it and bought it for-like-nothing.

When I got home I pulled off those ugly Halloween decorations and had on my hands a nice twig wreath to work on.  A clean slate, a fresh start...but for much much later.  (Moving slow remember?)

Okay okay now, back to the wreath making.  It's pretty simple.
  
What you need:
* Plastic, foam, paper, what-ever-you-like, eggs. 
* Wood springy animal pieces. (I got mine from the dollar section at Target.)
* Small accent fabric flowers.  (You can make them like I usually do, but this time I also picked them up in the dollar section at Target.) 
* Piece of tulle or ribbon.
* Glue gun & glue sticks.

How to make it:

Begin by gluing the eggs randomly onto the wreath.  If you have varying sizes of eggs then I suggest you begin by gluing the larger eggs randomly around the wreath first.  Then the next size. Finally, using the smaller size to cover all the remaining gaps.  

I had also thought of painting my wreath a pretty yellow or a soft pink, but the rain outside didn't really help, so I opted not to...or you probably wouldn't be reading this post right now had I waited for the rain to pass, and then the unexpected snow to melt.  Yup that's life in VA.  

Once you finish gluing all the eggs you can add the wood animal pieces.  Or you can leave it as is.  I chose to add some springy friends.


Because my wood pieces where originally meant for hanging they had a tiny hole, I covered them up by gluing small fabric flowers.

Finally, add a pretty bow or make one out of tulle.


I'm still not sure I like the tulle bow, I might change it.  What do you think?  Hum.  

That's it!  Nice and simple.


Hang and...


Happy Easter!


*Disculpen amigos que hoy no les escribí el post en español.  Prometo escribir el siguiente en ambos idiomas.  ¡Hasta pronto y Felices Pascuas!

10.03.2012

Decorate Vintage Suitcases with Washi Tape


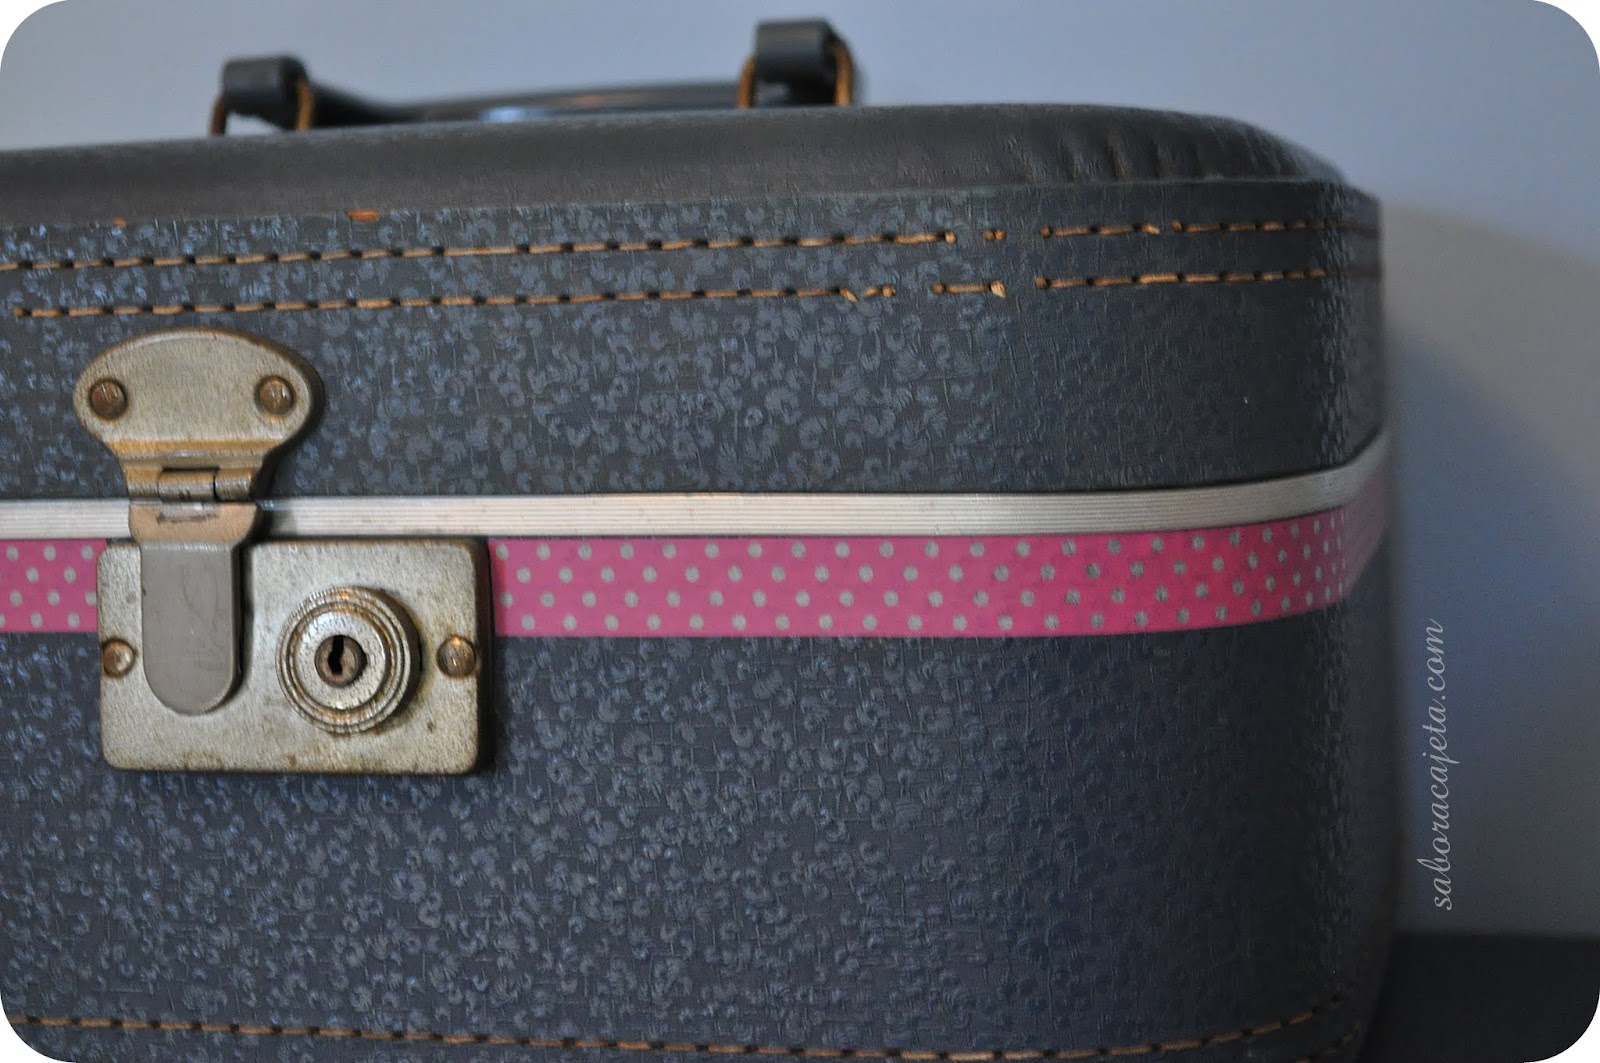
I love vintage suitcases.  Some may even say I have an obsession.  (Maybe my love grew from that memory of my Abuela.)  I also love, love, love,  washi tape.  

And what better way to decorate a loved vintage suitcase (without the fear of ruining it) then by using washi tape? Oh yes.  


So the other day my chiquita picked out the colors of washi tape she liked and we decorated the suitcases that store all her dress up goodies.  


 Like it?

Of course most of the time they look like this:


What can I say, they are loved and so are all her costumes.  How fun is it to be a child!


To decorate all you need are vintage suitcases (I get most of mine from yard sales and thrift stores.  I'm always in a hunt for them.  I keep them in the craft room to store handmade goodies and supplies, I also love using them to displayed said goodies at my craft shows, and of course we use them through out the house to store other things...like my chiquitas dress up clothe.) You also need washi tape.  That's it.  Make sure to use a sharp blade when you get near the hardware.  Other than that it is supper simple.


Have fun decorating!


9.19.2012

Organize Ribbons & Trims Using Toilet Paper Rolls


It's as simple as one, two, three!


Yup. 

All you have to do is:


and

Easy pease.  What did I tell ya. 

Now start organizing!